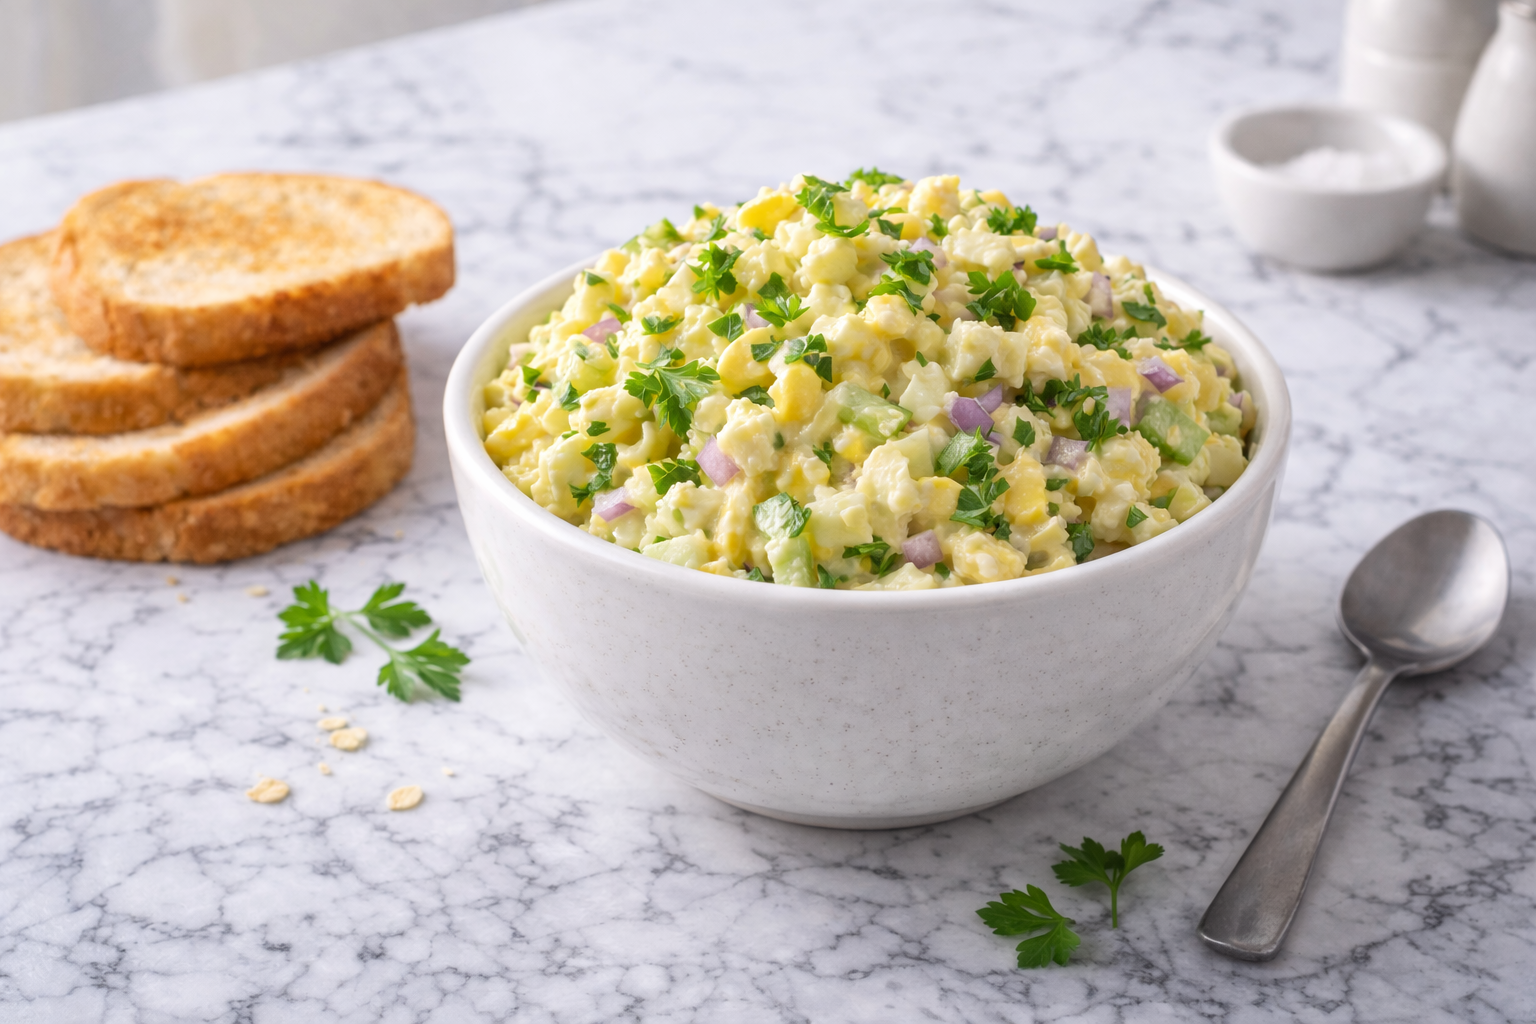
Tuna Salad Recipe
This tuna salad recipe is a simple, comforting dish that’s perfect for busy evenings or light family meals. Creamy, flavorful, and quick to make, it comes together in minutes and works well as a sandwich filling, a salad topper, or a standalone snack. I like to keep a batch ready so I can grab it for lunches or after-school meals, making everyday life a little easier and more satisfying. Its familiar flavors and ease make it a go-to for chilly nights when you want something cozy and filling without much fuss.

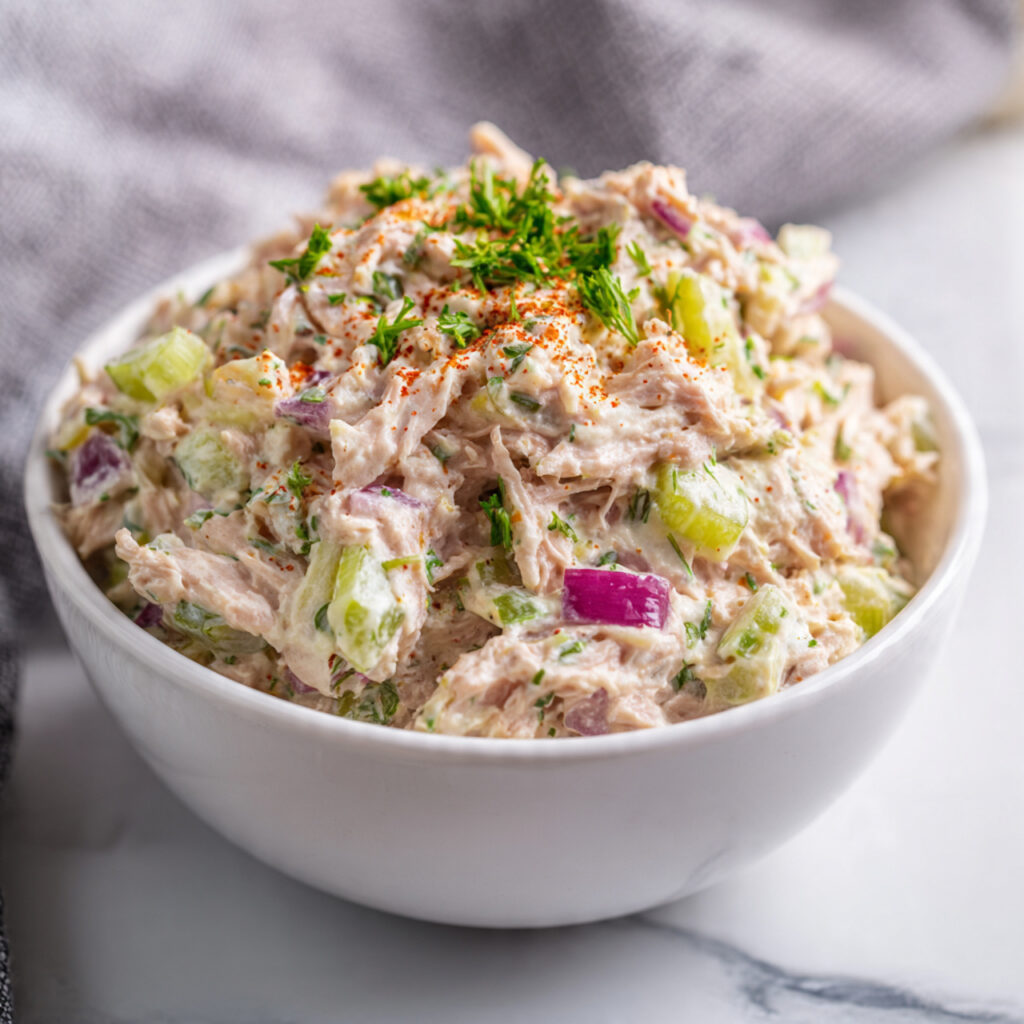
Tuna Salad Recipe
Course: Salad Recipes4
10
minutes250
kcal10
minutesA quick and easy tuna salad that’s creamy, flavorful, and perfect for sandwiches, salads, or snacks. Ready in minutes, it’s a cozy choice for busy days.
Ingredients
2 cans (5 oz each) tuna in water, drained
1/3 cup mayonnaise
1 celery stalk, finely chopped
1/4 small red onion, finely chopped
1 tsp Dijon mustard
1 tsp lemon juice
Salt and pepper to taste
Directions
- Prepare the Tuna
Open the cans of tuna and carefully drain all the liquid. You can press the tuna lightly with a fork or use a fine mesh strainer. This helps prevent your salad from becoming watery. Place the drained tuna in a medium-sized mixing bowl and break apart gently with a fork so there are small, uniform chunks. - Mix the Base
In a small bowl, combine the mayonnaise, Dijon mustard, and lemon juice. Stir until smooth and creamy. Gradually fold this mixture into the tuna, mixing gently. Avoid over-stirring, as it can break the tuna into very fine pieces, making the salad mushy. - Add Vegetables
Finely chop the celery and red onion. Fold these into the tuna mixture carefully. Mixing in the crunchy vegetables at this stage preserves their crisp texture, giving your salad a satisfying bite. Taste a small amount to check for balance between tuna, creamy dressing, and crunch. - Season to Taste
Add salt and freshly ground black pepper gradually. Stir gently and taste again. Adjust seasoning as needed, keeping in mind that the flavors will develop slightly if you chill the salad before serving. - Chill Before Serving (Optional)
If you have time, cover the bowl with plastic wrap or a lid and refrigerate for 10–15 minutes. Chilling allows the flavors to meld and the salad to firm up slightly. If serving immediately, it’s still delicious without chilling. - Serve and Enjoy
Serve the tuna salad as desired: on whole-grain bread for sandwiches, over fresh greens for a salad, in avocado halves, or on crackers for a snack. Garnish with a sprinkle of paprika or fresh herbs if you like for added color and flavor.
Why This Recipe Works for Busy Days
This tuna salad is ideal for meal prep and quick lunches. You can make it ahead of time, store it in the fridge, and portion it for easy grab-and-go meals. Leftovers stay fresh for a few days, making weeknight dinners, sandwiches, or wraps effortless. It’s practical, versatile, and keeps well without losing flavor.
Tips & Tricks
- Drain tuna well: Excess liquid makes the salad watery. Always press or drain your tuna properly to keep the texture creamy without turning soggy. A light squeeze with a fork helps remove extra moisture.
- Mix gently: Over-mixing can break the tuna into tiny bits. Fold ingredients together carefully to maintain chunks and a pleasant bite. This keeps your salad from feeling mushy.
- Adjust mayo gradually: Too much mayonnaise can overpower flavors. Start with a smaller amount, taste, then add more if needed. This balances creaminess without losing the tuna’s natural taste.
- Add crunch last: Ingredients like celery or onions lose their crisp if added too early. Mix them in just before serving to keep a fresh, satisfying crunch in every bite.
Serving Suggestions
- Classic Sandwich: Spread tuna salad between slices of whole-grain bread, add leafy greens, and serve with pickles on the side for a hearty, satisfying lunch.
- Salad Bowl: Spoon over a bed of mixed greens, cherry tomatoes, and cucumbers. A light drizzle of olive oil or lemon juice enhances flavor without adding heaviness.
- Stuffed Avocado: Halve an avocado and fill the cavity with tuna salad. It’s a cozy, low-carb option that looks beautiful on a plate and makes a quick snack or light meal.
- Cracker Appetizer: Serve small scoops on whole-grain crackers or toasted baguette slices. Perfect for casual gatherings or after-school snacks with a simple, approachable presentation.
Storage Instructions
- Fridge Storage: Keep the tuna salad in an airtight container in the fridge. It stays fresh for up to 3 days, maintaining flavor and texture. Stir before serving to redistribute any separated ingredients.
- Reheating: Tuna salad is best served cold. Avoid microwaving; if preferred warm, briefly heat on low for a minute and stir gently to prevent drying out.
- Freezing: Freezing is not recommended as mayonnaise-based salads separate upon thawing, affecting texture. Instead, freeze plain tuna and mix fresh ingredients later.
- Make-Ahead Tips: Prepare the salad up to a day in advance. Keep crunchy vegetables separate until serving for maximum freshness and texture.
Nutrition Information (Approximate)
- Calories: 200–250 per serving
- Protein: 18–22g
- Key Nutrients: Vitamin D and Omega-3 from tuna, small amount of healthy fats from mayonnaise
Values are estimates and may vary depending on the type of tuna, mayonnaise, or additional ingredients used.
FAQs
- Can I make this ahead of time? Yes, make it up to a day ahead, but store crunchy veggies separately to keep them fresh.
- Why is my tuna salad watery? Likely from excess liquid in the tuna; drain it thoroughly before mixing.
- Can I substitute Greek yogurt for mayonnaise? Yes, it makes a lighter, tangy version while keeping it creamy.
- How do I fix a thin texture? Add more tuna or a small amount of mayonnaise to thicken gently.
- How long does it keep? Up to 3 days in the fridge in an airtight container.
- How can I adjust flavor? Add a squeeze of lemon, a pinch of salt, or a dash of pepper to brighten it up.
Conclusion
This tuna salad recipe is simple, cozy, and flexible for everyday meals. You can tweak the ingredients, add fresh veggies, or try it as a sandwich, salad, or stuffed avocado. It’s easy to make ahead, store, and reuse, making it a reliable option for busy schedules. Keep a batch ready, and you’ll always have a comforting, satisfying dish on hand for lunches or light dinners that everyone enjoys.